Home Common Nutrient Deficiencies in Veggies

Common Nutrient Deficiencies in Veggies

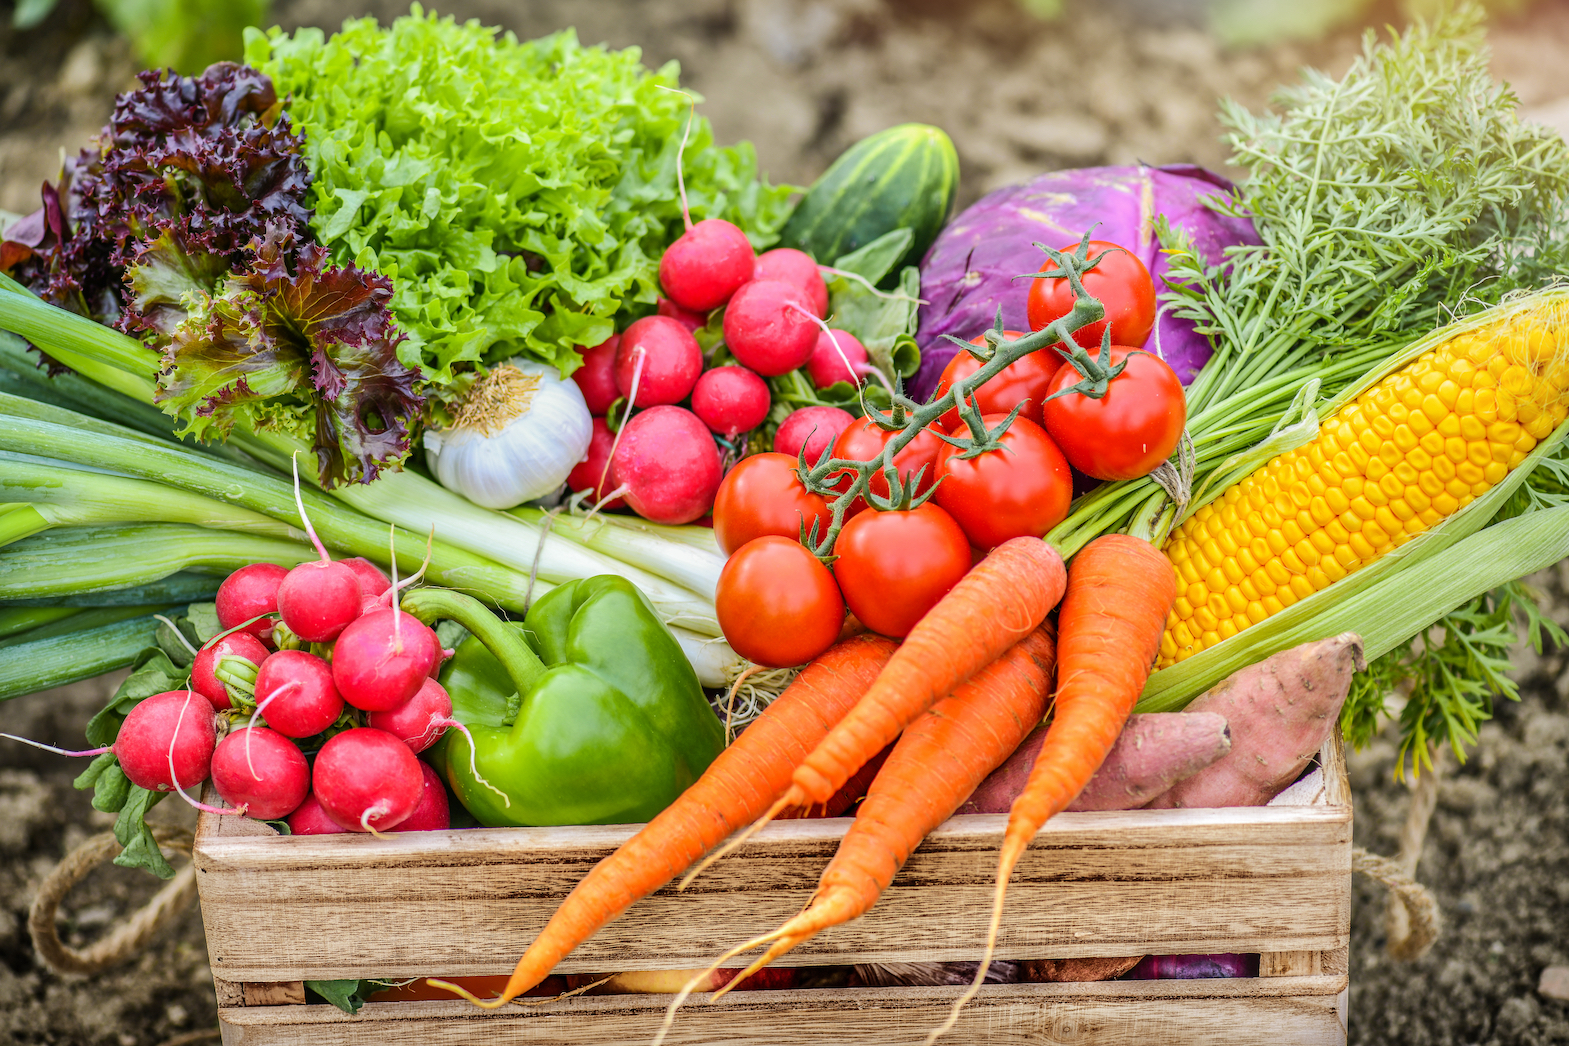
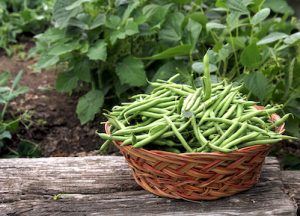
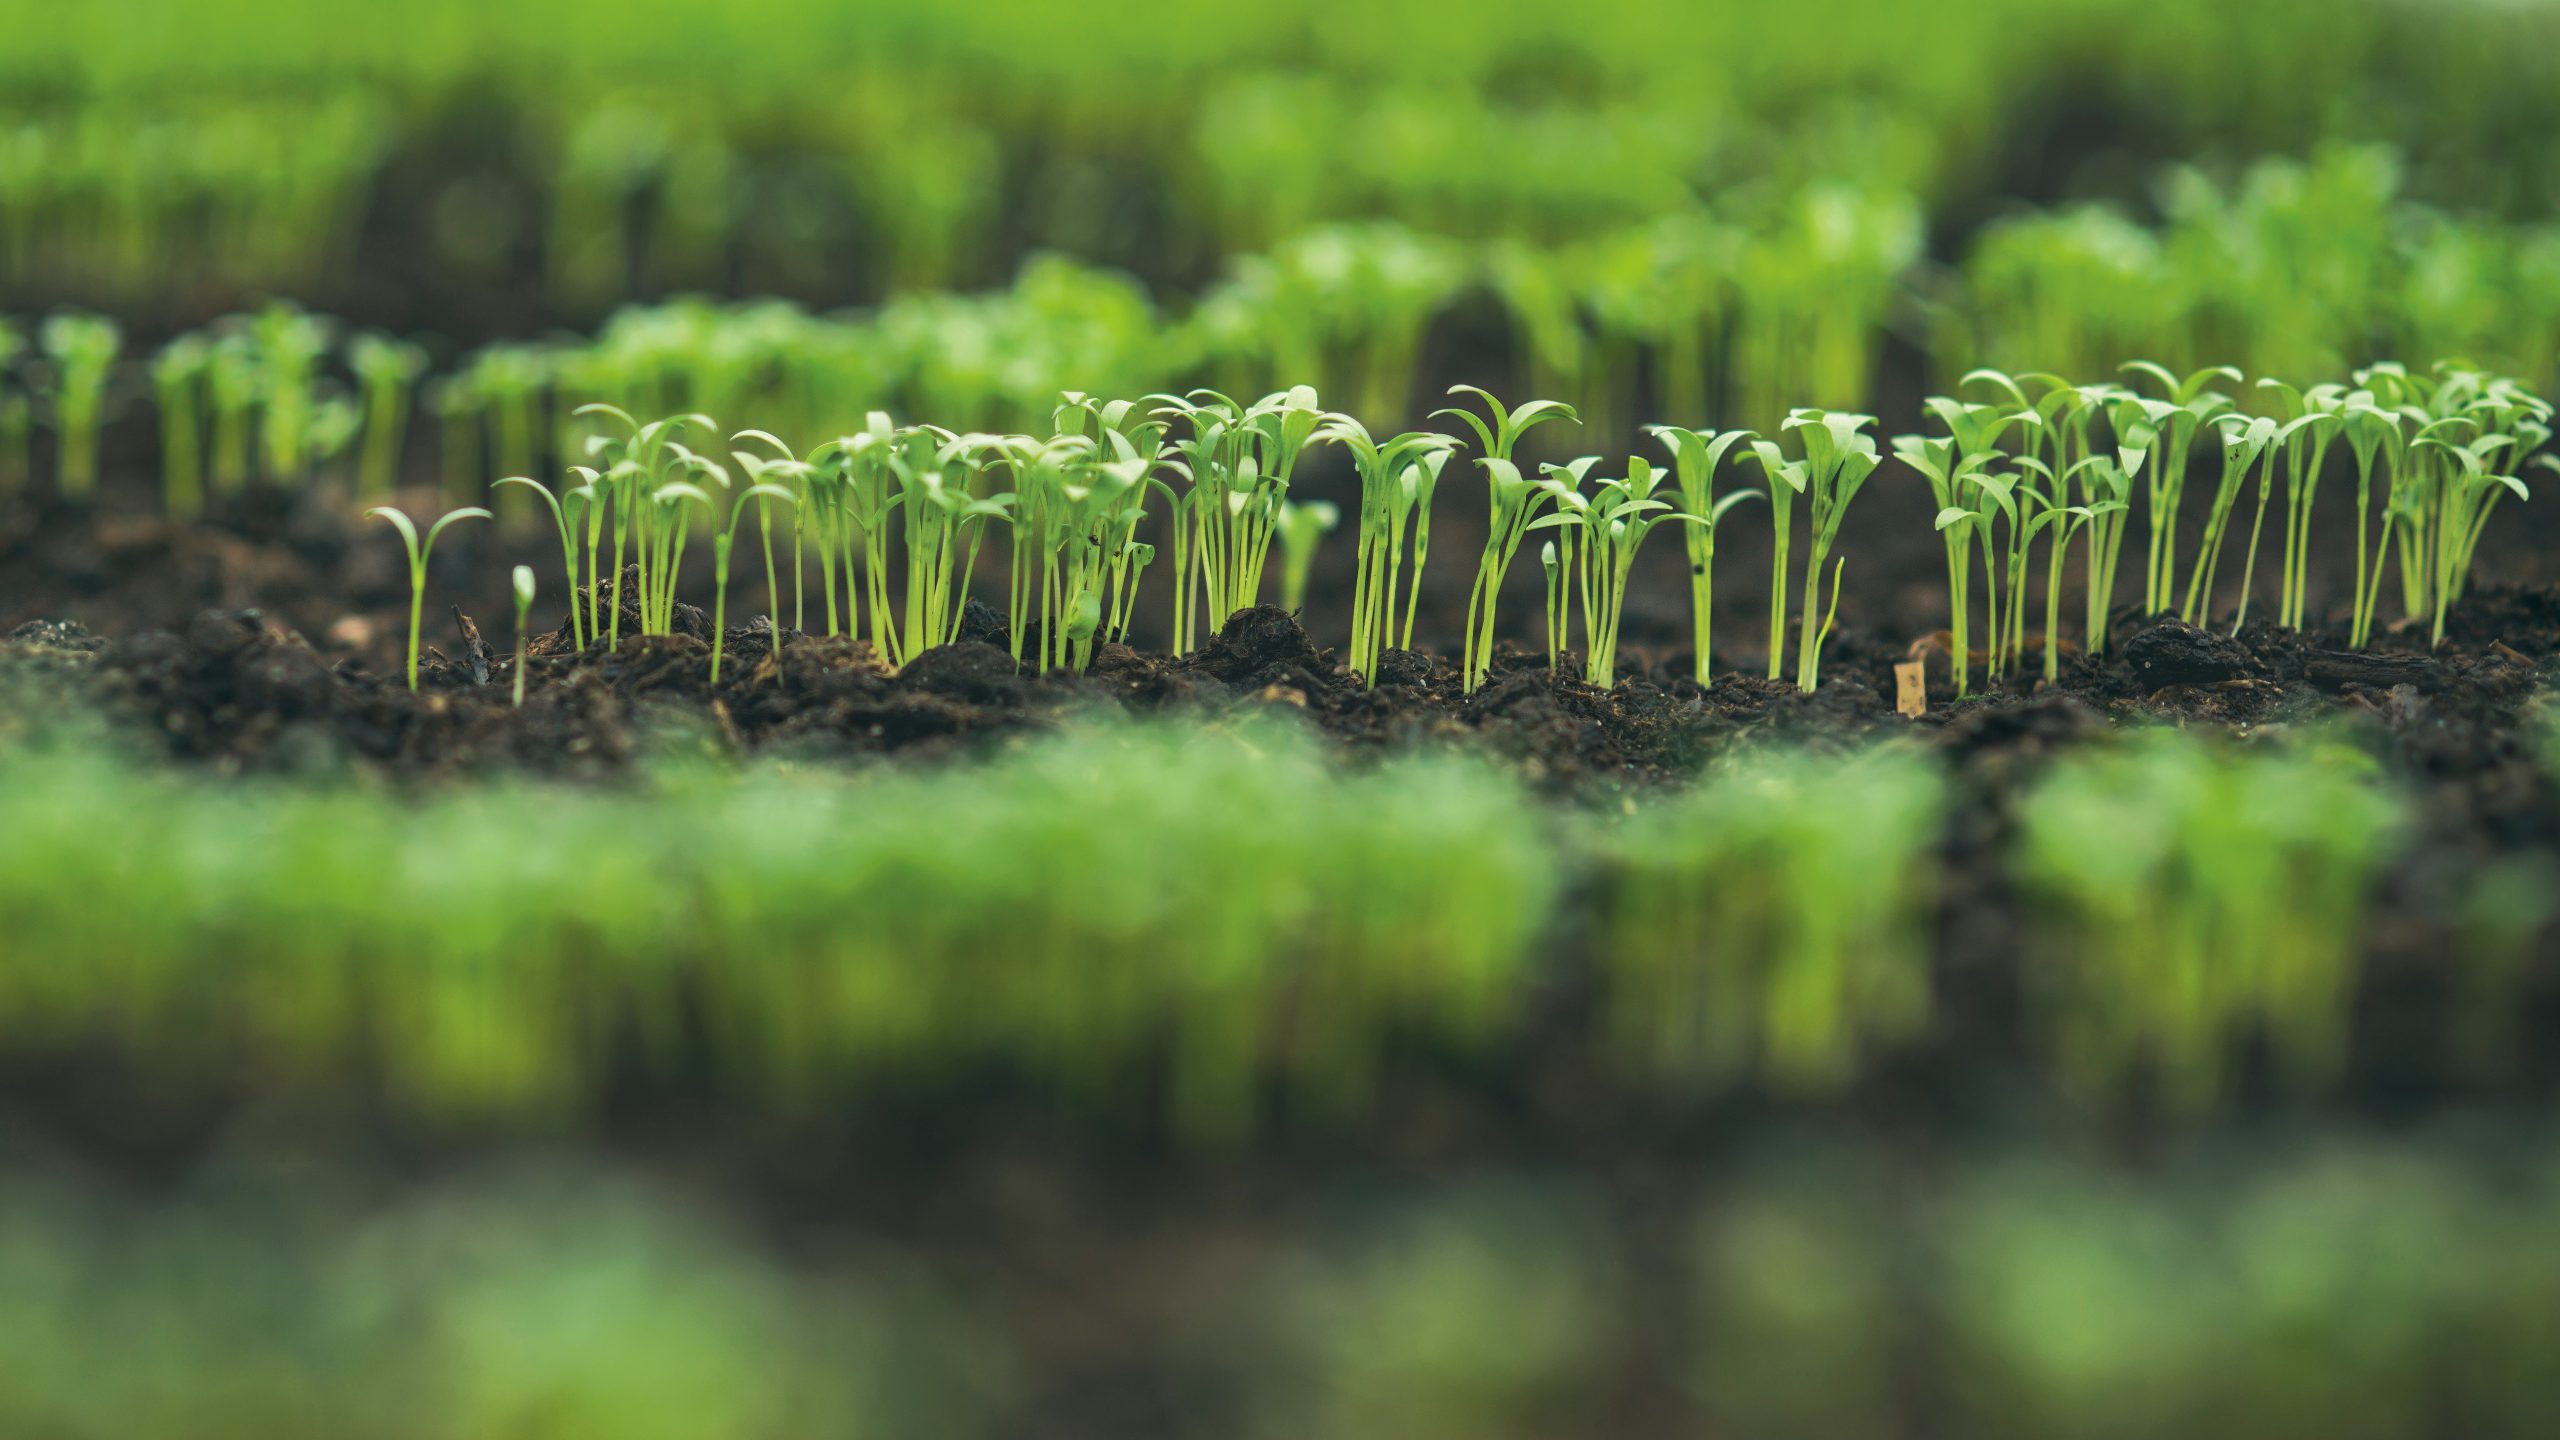
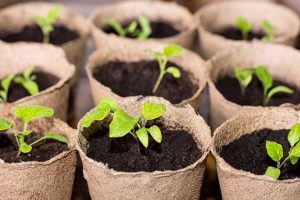
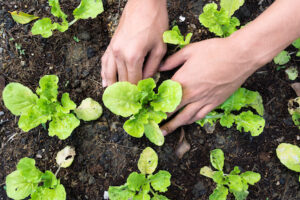
For many people, nothing matches the satisfaction of growing a home garden. Not only does gardening allow you to get outside and work in the sunshine, but it also ensures you always have fresh vegetables at hand. Sometimes your garden will need additional help, requiring that you become a detective, sleuthing to find the cause of your plant troubles. Get out your metaphorical magnifying glass: do you see pests present on your plants? Are the color or structure of your leaves looking out of character? If no pests can be found, your culprit could be a nutrient deficiency. Thankfully you don’t have to be a master gardener to identify some nutrient deficiencies commonly found in vegetable plants.

Just like people, plants require specific nutrients to grow and flourish. To help gardeners better understand which elements are most important to plant health, botanists have divided them into two distinct categories: macronutrients and micronutrients. Each of these nutrients can be found on the Periodic Table of Elements.

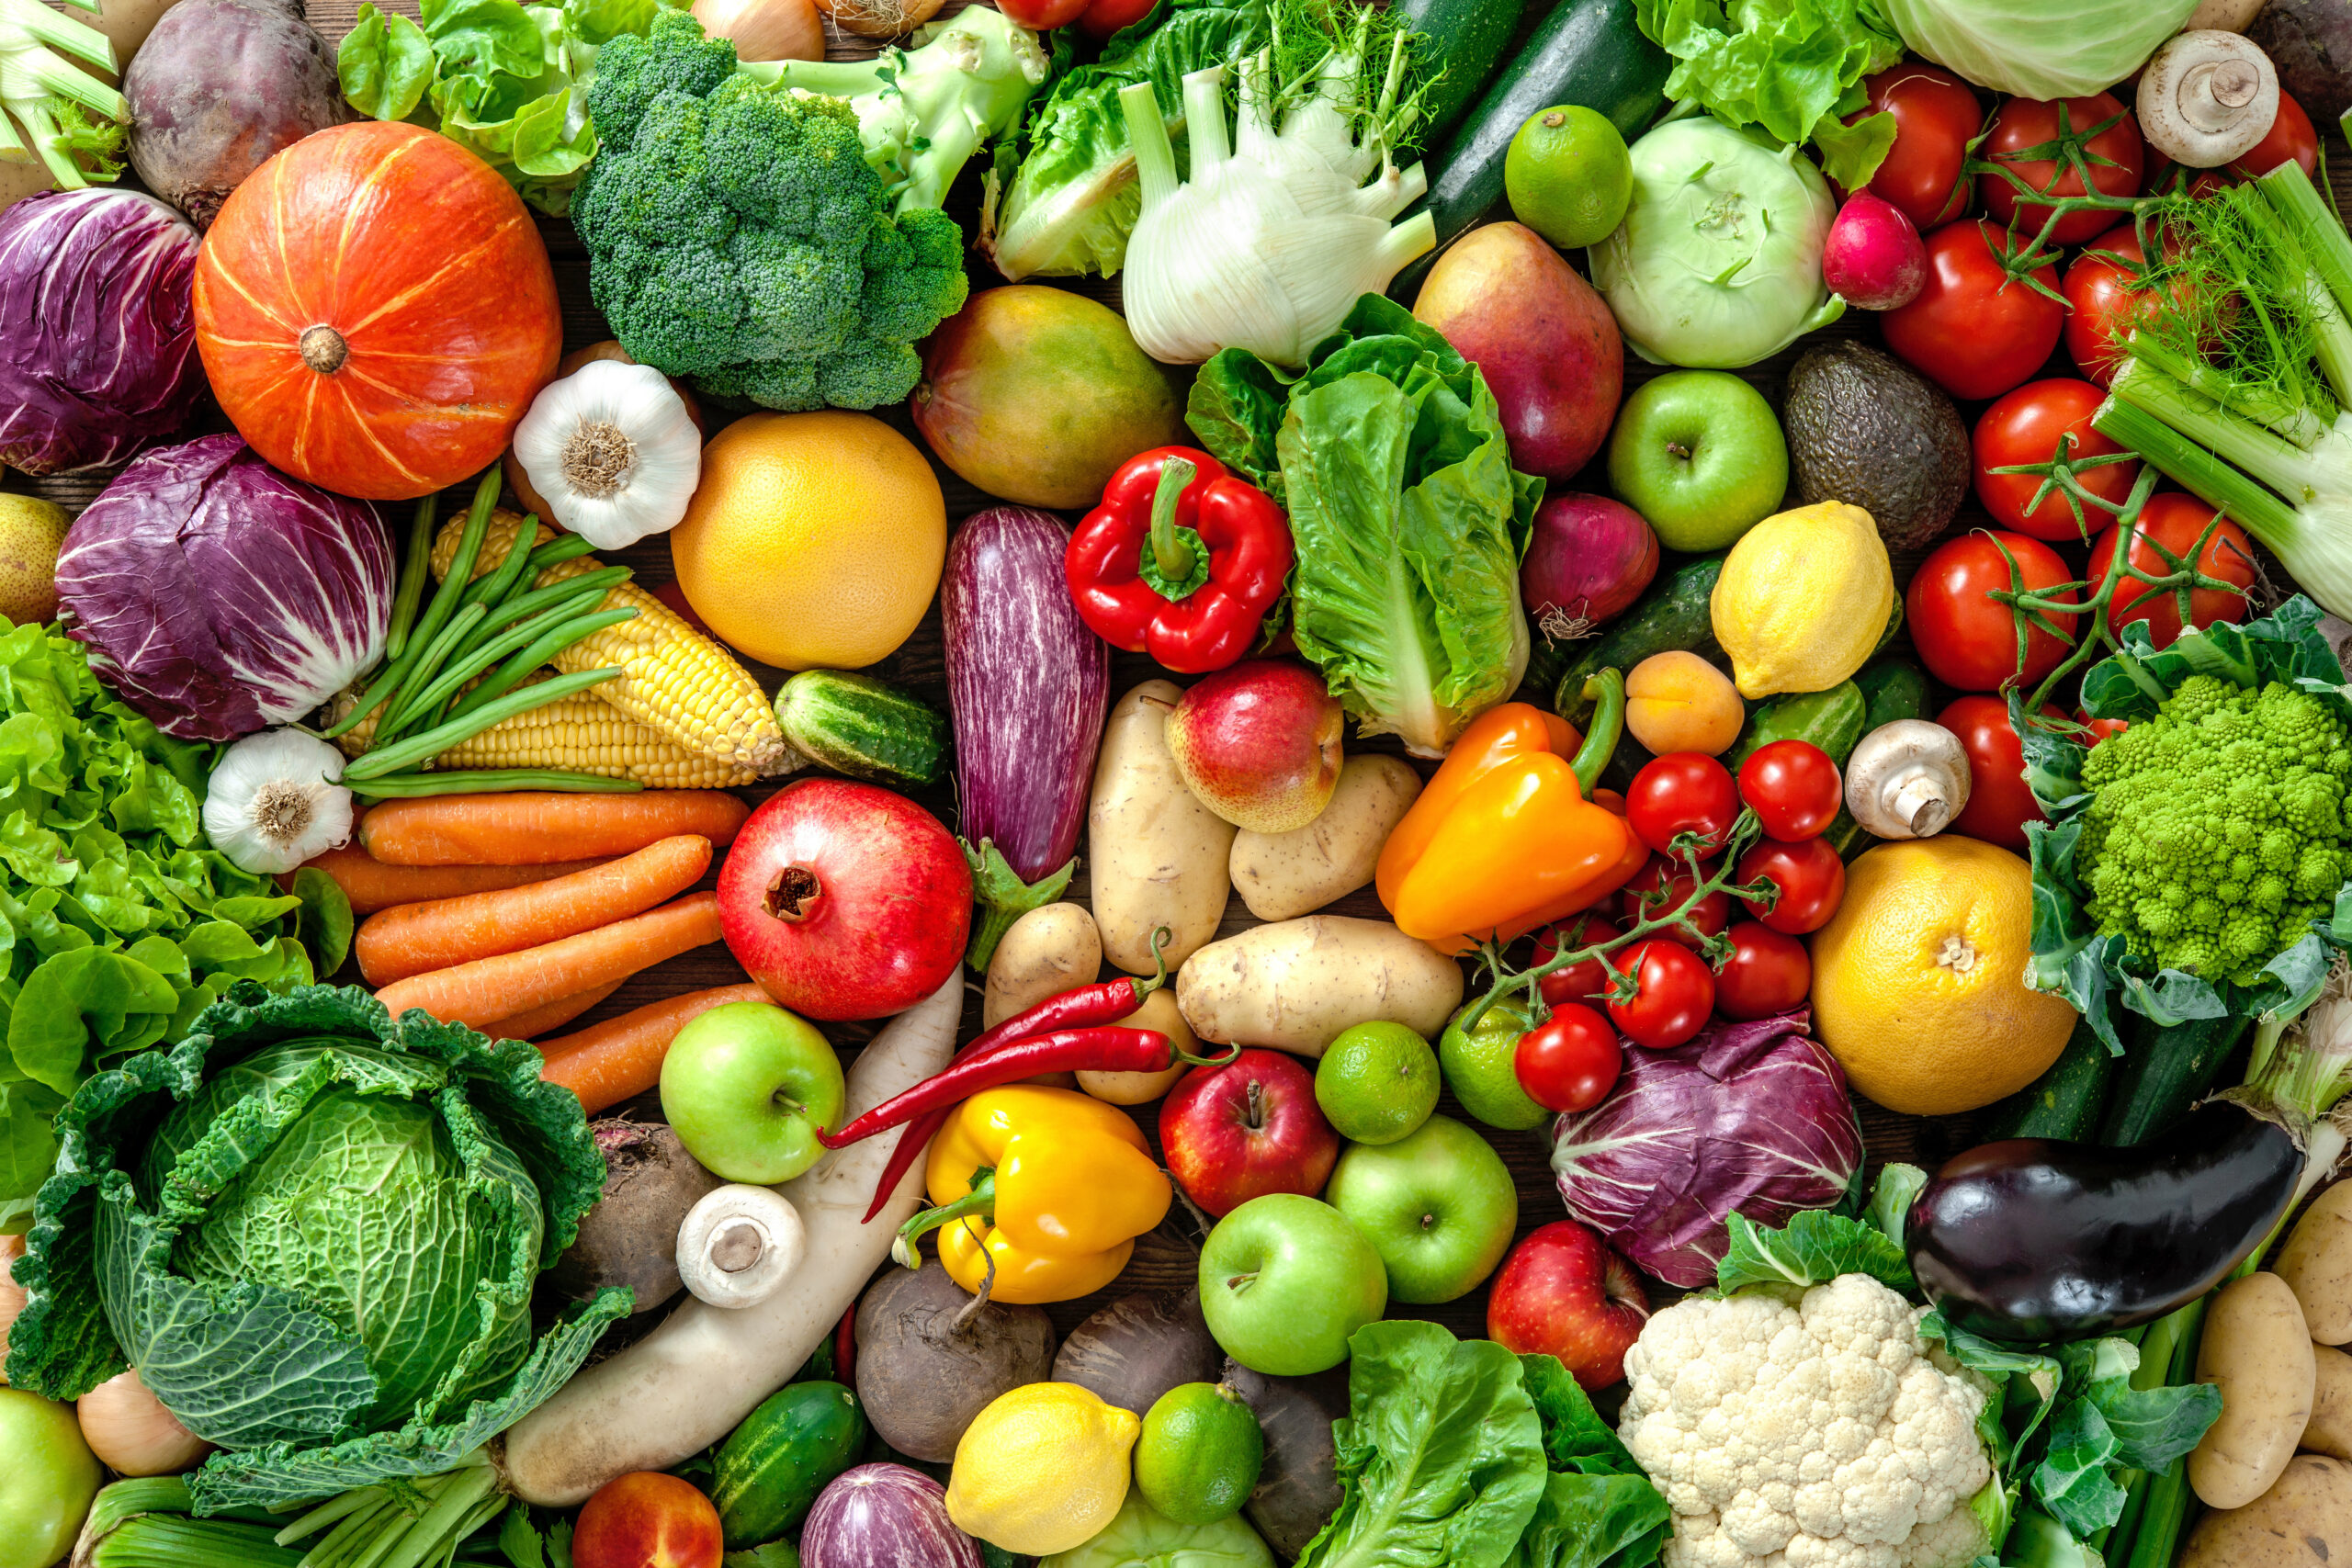
While just about any nutrient deficiency can hinder plant growth, there seem to be certain elements that give gardeners more trouble than others. By educating yourself on the most common nutrient deficiencies in vegetables, you will increase your chances for a bountiful harvest.

Calcium (Ca) and Magnesium (Mg)

Calcium is important to overall plant health because it gives structure to cell walls, helping give shape to new growth in leaves, stems, and roots. Because calcium is not mobile in plants, it can only be moved within a plant through the process of transpiration.

Tomatoes with blossom end rot.

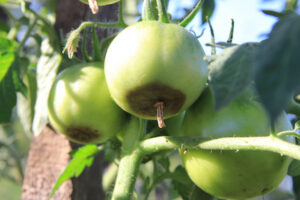
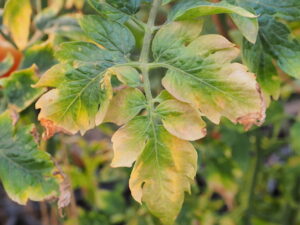
Calcium deficiency is a common problem that first appears on new growth. With calcium deficiency, new leaves are misshapen and brown spots often form on their surfaces. In the worst cases, plant growth slows down and the veins take on a brown coloration. If a calcium deficiency is not caught quickly, it can result in blossom end rot and leaf tip burn, so it is important to address it early.

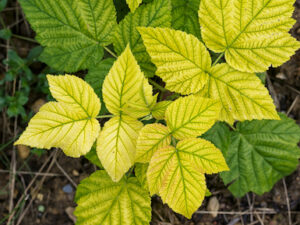
Magnesium is critical to the function of photosynthesis and chlorophyll production, so in the case of a deficiency there is a shortage of chlorophyll, resulting in stunted and inadequate plant growth. Plants experiencing a magnesium deficiency can also see yellowing of leaves while plant veins remain green, or a reddish-brown coloration around the outsides of leaves. These symptoms tend to afflict older leaves first.

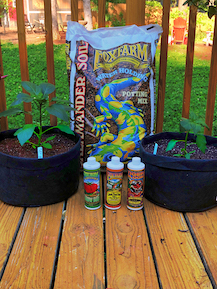
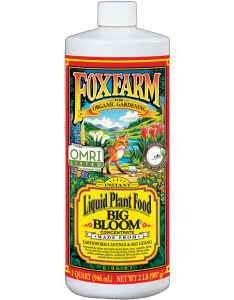
To avoid these costly and frustrating deficiencies we recommend using our Cultivation Nation® Cal-Mag.  If you are looking for a solution for organic gardening, try our OMRI listed and CDFA registered BushDoctor® Cal-Mag.

Manganese (Mn)

Yellowing of leaves due to manganese deficiency.

Manganese is a micronutrient that plays a critical role in photosynthesis. Importantly, manganese aids plants in converting energy from the sun into chemical compounds that are used for growth. Manganese also helps maintain the metabolism of different plant cells.

The most obvious sign of manganese deficiency is pale green coloration. Depending on the vegetable crop in question, symptoms can appear first on either old leaves or new growth. When a manganese deficiency goes untreated, leaves may become brown and eventually fall from the plant.

Using our BushDoctor® Manganese at the first sign of deficiency may help you sidestep these symptoms and keep your plants on track.

Iron (Fe) 

Raspberry plant showing signs of iron deficiency.

Iron functions in plants very similar to how it does in the human body. Just like iron in blood that transports important compounds throughout the body, iron helps move elements throughout the circulatory system of plants. Iron also plays a pivotal role in helping plants produce chlorophyll.

The most common sign of iron deficiency looks similar to a magnesium deficiency, with yellowing of leaves while the plant veins stay green. However, while magnesium deficiency afflicts older leaves, iron deficiency is evident on newer leaf growth first. The most extreme cases of iron deficiency result in stunted growth and dead leaves. BushDoctor® Liquid Iron can help alleviate these deficiency symptoms if introduced to your plants at the first signs of trouble.

Nitrogen (N)

Lettuce with nitrogen deficiency.

Nitrogen is one of the three primary macronutrients as denoted in the N-P-K ratio. Importantly, nitrogen plays a pivotal role in the early stages of plant growth, such as the vegetative phase. Because it is a part of the chlorophyll molecule, nitrogen helps plants retain their green color.

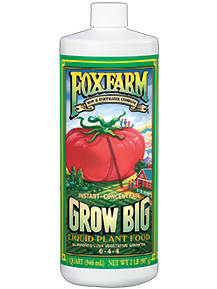
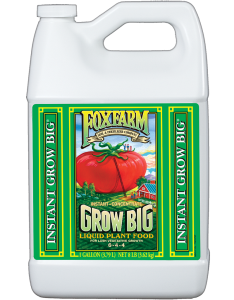
Nitrogen deficiency is a very common issue with vegetable gardens. With nitrogen deficiency, older leaves at the bottoms of plants turn yellow and die. Another obvious sign of nitrogen deficiency is the light green coloration of the entire plant. Our Grow Big® Liquid Plant Food includes 6% nitrogen, which supports lush vegetative growth.

Phosphorus (P)

Phosphorus is another macronutrient found in the N-P-K ratio. Phosphorus is an important nutrient during all phases of plant growth, having a significant impact on root development and fruit and flower production.

Phosphorus deficiency is most commonly exhibited with unusually dark coloration along the edges of leaves. Certain plants also show phosphorus deficiency with the red shades developing on leaves.

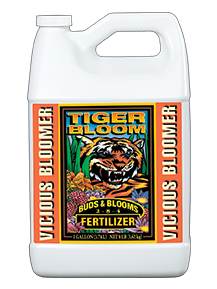
Using a fertilizer high in phosphorus can put plants on the right track. With 8% phosphorus, our Tiger Bloom® Liquid Plant Food is designed to encourage abundant fruit, flowers and multiple bud development when used at the first sign of flowering through to harvest.

Potassium (K)

Potassium deficiency.

Potassium is the final macronutrient found in the N-P-K ratio, playing an important role during all phases of plant growth with considerable impacts to the structural development of the plant. However, Potassium is particularly critical during fruiting and flowering phases – as it aids photosynthesis and helps transport sugars throughout the plant.

Potassium deficiency is most easily identified by yellow leaf margins that begin at the tips and work their way inwards. With the worst cases of potassium deficiency, the leaf edges may become brown and overall growth of the plant will be stunted.

Zinc (Zn)

Zinc plays a pivotal role in helping plants produce important compounds and proteins. In plants, zinc is used in the creation of both carbohydrates and chlorophyll. This micronutrient also helps plants withstand cold temperatures.

Zinc deficiencies are first displayed in new growth. Most often, you can identify zinc deficiencies with discoloration on new leaves, with dark spots later forming on leaf margins and tips. With extreme deficiencies, all plant growth is stunted – including leaves, flowers, and fruits.

Copper (Cu)

Copper is one of the most important micronutrients for plants. Copper aids in the manufacturing of enzymes, seeds, and chlorophyll. With such diverse applications in plant physiology, veggie crops require some copper during all phases of growth.

Gardeners often identify copper deficiency with wilted leaf tips that change to a bluish green color. Copper deficiency can slow plant growth in every phase. Copper deficiency is also a concern because it leaves plants more vulnerable to pathogens such as mold and mildew.

Don’t Forget About pH

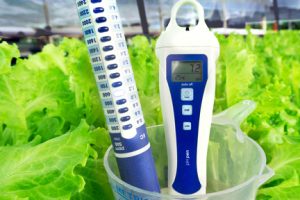
While understanding the nutrient requirements for vegetables is critical for growing healthy crops, there is more to the picture concerning plant nutrition. To this end, the pH of your water and soil are critical to the overall health of your vegetables.

With a pH of 7 being regarded as neutral, most vegetables thrive in a pH range from 6.2 to 6.8. When pH is too high or low, it hinders the ability for your plants’ roots to absorb nutrients. As such, you could have the most well-rounded feeding schedule possible for your vegetables, but still experience nutrient deficiencies due to pH imbalances.

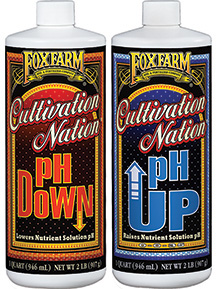
Check out our Cultivation® Nation pH Up and pH Down to raise or lower your nutrient solution to the ideal level for nutrient availability.

Conclusion 

Once you get your garden started, kick back, take a break and enjoy the environment that you’ve created. Starting your own vegetable garden will not only provide you with an abundance of fresh produce – it is also a relaxing practice that helps you feel connected with nature. The FoxFarm team is crazy about growing, and we love seeing your thriving gardens via social media. Please feel free to tag us and use the hashtags #FoxFarmSoil and #FoxFarmNutrients when posting photos of your plants.  We can’t wait to see how everything grows! If you have any questions, please give us a call!  Our Product Support Team can be reached at (707) 443-4369 or [email protected].  May the Fox Be With You!

Home How to Grow Your Own Veggies

How to Grow Your Own Veggies

Growing your own vegetables is a satisfying hobby. Not only does home gardening give you an abundance of fresh produce, but the practice is both rewarding and therapeutic. At FoxFarm, we can’t think of a better way to spend the afternoon than digging in the soil, soaking up the sun, and breathing in the fresh air.

Whether you are interested in stocking your kitchen with fresh vegetables or feeling connected to the rhythm of nature, gardening is an amazing pastime. Who knows, if you do well enough in your garden, you may even save a few dollars on groceries.

As proud gardeners ourselves, FoxFarm is here to walk you through some of the basics of vegetable growing. It is our hope that once you’ve read through this guide, you’ll gain a lifelong passion for horticulture- and be able to grow some awesome tomatoes!

Choosing the Right Location

A great place to start with vegetable growing is choosing the best location for your garden. Simply put, some places in your yard will be better for growing vegetables than others. If you live on a hill, be sure not to plant your garden on a north-facing slope. Due to the position of the sun in the northern hemisphere, south-facing slopes will always have the most abundant sunlight.

Another factor to consider in choosing the right location for your garden is protection. If your property is notoriously windy, you will want to consider planting your vegetables somewhere that is shielded from the wind. This could be next to your house, or perhaps adjacent to a row of trees.

Container Gardens vs In-Ground

Another major consideration when growing your own vegetable garden is choosing between a container garden or an in-ground garden. For many people, this question is answered simply by looking at your current living situation. If you are renting your home, it’s likely you cannot dig an in-ground garden for obvious reasons.

The size of your intended garden is another factor that will help you decide between container gardens and in-ground gardens. To illustrate, if you are planning a large garden with multiple rows of crops, an in-ground garden is likely your best choice. FoxFarm has several products designed for in-ground gardening, including our Happy Frog Soil Conditioner and FoxFarm Original Planting Mix soils.

A final point to consider in choosing between an in-ground garden and a container garden is how well the soil drains in your location. If you are considering an in-ground garden, but the ground beneath is solid clay and rock, you might want to reconsider. You must ensure that the soil drains properly and allows for air penetration to the root zone.

50-100 gallon fabric pots are great container options for novice vegetable gardeners. These pots are easy to work with and allow for maximum soil drainage and air penetration. FoxFarm has talked to several growers who swear by Ocean Forest and Happy Frog Potting Soil mixes for their fabric container gardens. Other container growers have found success in hot, dry climates with Salamander Soil Water Holding Potting Mix. If you’d like to forgo the container altogether, you can also find Ocean Forest and our KO KO BOP Coconut Coir Blend in convenient 3 cubic foot grow bags.

Easy Plants for Beginners 

FoxFarm recommends beginner gardeners choose vegetables that are easy to grow. By making wise crop selections before you get started, you will help ensure a large harvest at the end of the season.

Tomatoes

Tomatoes are one of the most popular crop choices among new gardeners. Not only are they easy to grow, but there are countless varieties to choose from – from heirlooms to Roma tomatoes. To get the most out of your crop, be sure to plant tomatoes somewhere that gets 6-8 hours of direct sunlight per day. Tomatoes also enjoy moist soil.

Peppers

Peppers are another easy crop that does well in the summer heat. Like tomatoes, there is an endless assortment of pepper varieties to choose from, from mild bell peppers to spicy jalapenos. Pepper plants prefer 6-8 hours of full sun each day and should be watered regularly.

Green Beans 

Green beans are another good choice for beginners. Green beans grow as either pole beans or bush beans. Pole beans are tons of fun to grow because they crawl up tomato cages, plant trellises, and other supports. Conversely, bush beans grow in self-supported, squatty plants that are less than 2ft. tall. Bean plants love the full sun and do the best in warm temperatures.

Watering and Fertilizing

With a little research and practice, watering and fertilizing your vegetable garden can be a cinch. At the outset, FoxFarm recommends you hand-water your crops with a hose or watering can. In doing so, you will get an intimate feel for how much water your plants are drinking. Even more, hand-watering affords more “face time” with your vegetables, where you can carefully assess overall plant health.

In developing a watering plan, you should research each crop variety and take note of their water requirements. With this info as a baseline, you can make alterations to your watering schedule depending on the weather. For instance, a solid week of hot and dry weather will require more watering than a week with cloudy, cold conditions. If you are unsure, you can purchase an affordable moisture meter from your local garden supply store.

Your choice of fertilizer will depend largely on your chosen crops and watering plan. To illustrate, FoxFarm’s Happy Frog Tomato & Vegetable Fertilizer is a great dry nutrient mix that is most conducive to watering with a hose. Simply apply the mix to the top of your soil and water. If you enjoy using a watering can, Big Bloom and Grow Big are amazing liquid fertilizers that will support your garden through a whole growing season.

Helpful Tips for Starting a Garden

To help get you going with your vegetable garden, we’d like to leave you with a few additional morsels of wisdom.

When it comes to getting a garden started, newbies are often perplexed when it comes to choosing between seeds and plant starts. We recommend you establish your first few vegetable gardens with plant starts. In doing so, you avoid the extra labor and materials needed to grow crops from seed. For best results, purchase some hearty starts from your local nursery and plant them in Happy Frog Potting Soil.

Whenever you grow crops outdoors, you must account for bugs and critters. To help control bugs, spray

with our Don’t Bug Me Home & Garden Insect Spray. For larger pests like deer and rabbits, we recommend you build a fence around your garden. This fence can be temporary or permanent, depending on your goals and set up.

Conclusion 

Once you get your garden started, kick back, take a break and enjoy the environment that you’ve created. Starting your own vegetable garden will not only provide you with an abundance of fresh produce – it is also a relaxing practice that helps you feel connected with nature. The FoxFarm team is crazy about growing, and we love seeing your thriving gardens via social media. Please feel free to tag us and use the hashtags #FoxFarmSoil and #FoxFarmNutrients when posting photos of your plants.  We can’t wait to see how everything grows!

If you have any questions, please give us a call!  Our Product Support Team can be reached at (707) 443-4369 or [email protected].  May the Fox Be With You!

Home Coir Values

Coir Values

What You Need to Know About Coco Coir

Whether we are growing with soil or substrates, the FoxFarm family is passionate about what we do. Since founding the business in the 1984, we’ve poured our love and energy into some of the best cultivation mediums on the market, and coco coir is an integral part of that journey.

As you start learning more about growing, it opens up a whole new world of possibilities. It doesn’t matter if you are a newbie gardener or veteran grower, a better understanding of soil and substrates will help sharpen your skills. FoxFarm is here to walk you through the ins-and-outs of coco coir so you can use this amazing input to boost production.

What Exactly is a Coco Coir Substrate?

Coco coir is a growing media made from the husks of coconuts. The history of coco coir is fascinating, as it was originally considered a waste byproduct of coconut farming. In the beginning, coconuts were only grown for their edible interior. However, people came to realize the husks on the outside of coconuts are also quite useful.

Often, growing media such as coco coir are used in place of soil and peat moss. Substrates give plants a supportive medium within which to grow and expand their roots. In their rawest form, soilless substrates like coconut coir do not contain any nutrients, so they are considered “inert.” However, coco coir is sometimes mixed with amendments like bat guano to make blends like our FoxFarm KO KO BOP®.

Hydroponic growers are drawn to raw, inert coco coir because it gives them precision control over their watering schedules. To be successful, hydro growers create nutrient mixes within very specific ranges of pH, PPM, and EC. To do so, they must use inert substrates which don’t cause fluctuations with these important readings.

With a pH reading of 7, coconut coir is considered “pH neutral.” As such, using raw coco coir as a hydroponic substrate will not influence the pH of your irrigation water. For this reason, coco coir is the ideal substrate to use with a feeding schedule such as FoxFarm’s Cultivation Nation® 3-part Feeding Schedule.

Aeration & Water Retention

Aeration and water retention are some of the most impressive qualities of coco coir. By combining these important characteristics, coco coir has taken the hydroponics industry by storm.

When used in a hydroponics setup like a flood table, you have to worry less about your substrate drying out between cycles. To get a better feel for the consistency of coco coir, FoxFarm recommends checking out our Cultivation Nation® Seventy Thirty Growing Media.

Coco coir balances water absorption capabilities with amazing breathability. Coco coir allows air to penetrate deep into the root zone of your plants. In turn, this breathability helps reduce the chance for diseases like root rot, while also supporting overall plant growth.

Coco Coir & the Environment

While the practicality of coco coir is amazing in itself, the environmental benefits of this ingredient are even more impressive. While we love growing huge plants, FoxFarm is always looking for ways to do our part and be better stewards of our planet. This simple fact makes us big supporters of coco coir.

As we stated earlier, coconut husks are a byproduct of coconut production. In fact, the coco coir industry is built entirely on a product previously thought to be waste. When FoxFarm makes coco coir blends, we procure this raw material for use in our high quality products.

Another environmental benefit of coconut coir is that it is biodegradable. Home growers and commercial producers alike can use large amounts of coco coir without concern for how to dispose of it later. In fact, you can compost the material after use if you so desire.


What is Coco Coir Made Of?

Coco coir is made from a few different parts of the coconut husk. The three primary parts of the coconut husk are the pith, fiber, and chips.  These materials are used in a variety of consumer products such as soil amendments, top dressings, floor mats, rope, brushes and fishing nets. Who knew coconuts had so many uses!

The pith of the coconut husk is comprised of extremely fine material. Coconut pith is responsible for the water retention abilities of coco coir. Please note: coconut pith is not used as a stand-alone cultivation medium because it does not drain well.

Coconut fiber is the long, stringlike material that encompasses coconut husks. This fiber is extremely strong, yet it does not absorb water. As such, coconut fiber is responsible for giving coco coir its aeration qualities.

Coconut chips are exactly what they sound like – chunks of coconut husks that resemble wood chips.

At FoxFarm we use a combination of coconut fiber and pith in our growing media products, taking advantage of both water retention and aeration at the root zone.

While many of FoxFarm’s coco products combine coco coir with soil, our Cultivation Nation® Seventy Thirty Growing Media is a fantastic option for growing without soil.  Seventy Thirty contains a blend of coco coir and perlite in a ratio of 70:30.

Coco Coir Blends

At FoxFarm, we have worked diligently to develop coir blends that bring out the best attributes in both soil and coco coir growing systems. We are proud to have introduced the beauty of coco coir substrates to soil growers.

By mixing coco coir with amendments like earthworm castings, you add nutrients to the otherwise raw, inert substrate. The idea behind coco coir mixes is to keep the water retention and aeration qualities of the substrate, while complementing it with ingredients found in soil.

Bush Doctor® Coco Loco® Potting Mix is one of our premier coco coir mixes. This coco soil blend has the same consistency as coco coir, yet includes the soil microbes that have made FoxFarm famous.

FoxFarm KO KO BOP® features a blend of coco coir and aged forest products. KO KO BOP® is conveniently sold in a 3 cubic foot grow bag, so all you need to do is cut the top, poke holes in the bottom, and plant your crop.

Used on its own or in a blend, coco coir is a highly significant growing media. Hydroponic growers love coco coir because it gives them precision control over important factors like pH, PPM, and EC. Soil growers celebrate coco coir blends for their water retention capabilities, as well as their quality nutrients. Whatever your flavor, coco coir is an amazing material that not only works great in the garden, but is also a feel-good choice for the planet.

If you have any questions, please give us a call!  Our Product Support Team can be reached at (707) 443-4369 or [email protected].  May the Fox Be With You!

Home Houseplants 101

Houseplants 101

A Beginner’s Guide

While many people love the idea of having plants at home, the process of realizing this dream is not always as simple as they might think. At FoxFarm, we are here to help! With decades of experience in the soil business, we are well equipped to help you prepare for your adventures in houseplant cultivation.

To help you gain confidence with houseplants, FoxFarm put together this brief growing guide, starting with the process of choosing the right plants for your home.

Growing Environment & Sunlight

A great place to start with the houseplant selection process is the growing environment. We recommend you take a good look at your house to figure out where different plant species might thrive.

Available sunlight in your home is the most critical factor to consider when shopping for plants. Importantly, a house with large windows will provide more opportunities for houseplants than a small apartment that gets very little sunlight. With this information in hand, you will have a much better idea of which plants you can successfully cultivate.

For those of you living in the northern hemisphere, south-facing windows will always get the most sunlight. These areas of your house are often the warmest and most welcoming for people and house plants alike.

Once you have made note of available sunlight at your home, you can match plant species with their ideal environments.

Choosing the Right Houseplants

Once you have a solid understanding of what the growing environment looks like in your home, you can get to work picking out the plants that will do the best for your needs. The next phase of the process will revolve around your personal preferences, as well as safety precautions for specific plant species.

What is Your Interest in House Plants?
An important factor to consider when houseplant shopping is your motivation for taking up the hobby in the first place. For example, some people just want to add greenery to their living space, without having to do much work. Conversely, others really want to develop a green thumb. All things considered, choose a houseplant that is a good fit for your interests. If you are not sure, start with something easy like a snake plant.

Pets, Children, and Allergies
It might be hard to believe, but certain plant species that are commonly sold at garden stores can exacerbate allergies, or even be poisonous. To be as careful as possible, we recommend discussing the species with a sales professional at the nursery or plant shop before bringing a plant into your home.

If you struggle with allergies, we advise that you avoid the weeping fig. This species is notorious for causing allergic reactions. The same can be said about having ferns in the house, as these plants release spores that easily irritate people’s allergies.

There are some popular houseplant species that can be poisonous when consumed. Of these, ivy plants and philodendrons are some of the most common culprits. As such, be wary of keeping these plant species at home if you have young children or pets.

Soil & Nutrients

The process of choosing the right soil and nutrients for your houseplants can be a lot of fun. To this end, by following some simple criteria, you can easily match the right soil and nutrients for your new plants. Even more, you can learn a few basic horticultural terms in the process.

Potting Soil
If you are a novice gardener, we recommend you keep it simple at the outset. That being said, look for a soil mix that is “ready to be used” right out of the bag.

For houseplants, we recommend Ocean Forest® Potting Soil or Happy Frog® Potting Soil. Each of these popular soils are made with earthworm castings, peat moss, and bat guano. However, Ocean Forest® and Happy Frog® differ in a few key ingredients. Ocean Forest® contains ocean-sourced compounds like crab and shrimp meal. Conversely, Happy Frog® is relished by growers for its humic acids and beneficial microbes.

Nutrients & Fertilizers
When it comes to fertilizers and nutrients, we encourage you to start with something easy and work your way up to a more advanced level.

We recommend an easy to use top-dress mix like Happy Frog® All-Purpose Fertilizer. Please reference the back of the bag for more detailed instructions. This organic listed fertilizer has an NPK of 6-4-5, giving your plants access to the nutrients they need for great growth. Even more, because Happy Frog® All-Purpose is composed of natural ingredients like feather meal and alfalfa meal, it slowly releases nitrogen into the soil as those ingredients break down. This allows for easy and gentle feeding that will not burn your plants when used as directed.

For gardeners who prefer to fertilize while watering, Fox Farm recommends our liquid plant foods Big Bloom® and Grow Big®. Both products are easy-to-use if you follow the label directions and mix them with appropriate amounts of water. Big Bloom® is an organic listed, all-purpose fertilizer that works great during all phases of plant growth. Grow Big® is a popular liquid plant food that will leave your house plants looking green and lush.


Summary

Houseplants are more than great decorations. If you take the time to learn about basic horticulture, the process of growing plants can be both educational and rewarding. As you continue to increase your abilities and your knowledge of fertilizers, you’ll take your home garden to the next level with FoxFarm.

If you have any questions, please give us a call!  Our Product Support Team can be reached at (707) 443-4369 or [email protected].  May the Fox Be With You!

Home Seed Starting

Seed Starting

A Radicle Start to Spring

Spring is right around the corner and the gardener in each of us is getting anxious to feel the soil between our fingers once again.  Have you ever held life in the palm of your hand? Seeds are actually immature plants surrounded by a protective coating. All of the genetic makeup the plant needs to grow and thrive is contained in that tiny creation from Mother Nature.

Biology

When given the right balance of water, warmth, and light a seed can morph from a non-descript little ball to a luscious plant in as little as a few days.  Every seed has different requirements for germination, but once these requirements are met, the seed absorbs, orimbibes water, triggering a series of physiological changes resulting in the emergence of the first root, known as the radicle. This is quickly followed by the stem of the plant, or the hypocotyl, and then the cotyledons. Cotyledons are the first set of leaves that are full of stored starches used to feed the developing seedling while the roots and true leaves are developing.  Once the first set of true leaves develop, your seedling is well on its way!

Sounds easy, right? It really is, as long as you can provide the proper environmental conditions for your growing seedling.

Containers

Seedling starts

Seeds can be started in a wide variety of containers. There are seed-starting trays with small cells that allow you to start a large number of seeds in a small amount of space.  If space isn’t an issue, then you may want to consider up-cycling your plastic yogurt container or the plastic cups from last Saturday’s party.  Whatever you choose, make sure there are enough holes in the bottom of the container to allow for sufficient drainage.

Soil

One of the most important supplies you will need is a seed-starting medium.  A good medium will be light and fluffy to allow for excellent drainage, and contain just enough nutrition to get your seedling off to a great start.  Light Warrior® Seed Starter was designed to promote an environment beneficial to seed germination and root development.  It includes soil microbes that can help enhance root efficiency and encourage nutrient uptake.  We’ve also included earthworm castings, a gentle source of nutrition for seedlings and small plants.

Be sure to pre-moisten your Light Warrior® before placing it in the container.  It should be just moist enough that you can squeeze it in your fist and it can loosely hold together, but not so wet that water squeezes out.

Seeding

Once you have filled containers, it is time to get down to business! When it comes to hemp, vegetables, and flowers, there is a huge variance in the size of the seed. It is important that each seed be planted to the proper depth for good germination.  Most seed packets come with specific instructions, but as a general rule of thumb, seeds should be planted twice as deep as the seed is long.  For example, if the seed is ¼” long, then it should be planted at a depth of ½”.  As with most things in life, there are exceptions to the rule, so take care to read up on your plants’ specific needs. Once in the soil, be sure to cover the seeds with your moistened seed starting mix and lightly tamp down on the media and water it in. Water lightly so you don’t displace the seed.  Taking these small extra steps ensures good seed-soil contact, which is crucial for the seed to imbibe water and begin the germination process.

Environment

Hands holding young plant in soil

Your seeds are now happily ensconced in their new home! Now what?  We have to make sure their environmental needs are met.  One of the benefits of starting seeds indoors is the ability to control the growing environment.  Most hemp and vegetable seeds require relatively warm soil temperatures in the range of 70 to 80 degrees Fahrenheit to germinate (check your seed pack for exact requirements).  If the soil temperatures are too cool, you will have poor germination and increase the likelihood that your seedlings could succumb to damping off pathogens.  You can always use a seedling heat mat to warm the soil if the ambient temperature in your environment is a bit cool.

The media should be maintained “evenly moist” while germinating the seeds.  That is a pretty ambiguous term widely used to mean “somewhere between wet and dry.”  The easiest way to achieve this is by pre-moistening the soil before placing it in the container and then using a spray bottle to mist the soil surface to maintain the moisture level.  Covering the soil with a clear, plastic grow-dome or tented plastic wrap is a great way to keep humidity levels high, which will help maintain a moist soil surface.

Lighting

growing plants with indoor lights

Once your seeds germinate, they will begin to rely on the power of the sun to create food and energy for themselves to grow and thrive.  In nature, hemp and most garden plants grow in full sun.  It can be tough to get enough light (12 to 16 hours) to your developing seedlings if merely relying on the ambient light coming through a window, especially if your winter and early spring days are marked by rain and snow.  How do you know if your plants aren’t receiving enough light? The seedlings will begin to lean and stretch towards the light source, which can cause weak-stemmed plants that will not handle the rigors of outdoor growing as well.

Artificial lighting can emulate the sun and provide all of the energy your plant needs. For seedlings, fluorescent lighting is an inexpensive option. However, there are a wide range of options that include LED lights and different types of HID (High Intensity Discharge) lighting. Make sure to talk to your local garden center or hydro store to find the lights that will work best for your environment and your budget.

Fertilizer

So now you’ve got a tray full of beautiful tiny plants, congrats! Just like all creatures on this earth, they will need to eat. Our OMRI listed and CDFA registered Big Bloom® Liquid Plant Food is a great source of gentle nutrition for your new plant babies.  Don’t let the name fool you, Big Bloom® does much more than encourage blooming.  It contains bat guano, earthworm castings, kelp, and some other goodies to encourage root formation.  Apply at a rate of 1 tablespoon per gallon of water every other watering during the seedling stage.

Additionally, you should consider giving your plants a dose of Bush Doctor® Boomerang®, our Comeback Formula.  Bush Doctor® Boomerang® contains solubilized macro- and micro-nutrients, as well as mycorrhizal fungi. The four Glomus spp. of mycorrhizae help support the root zone while the nutrients provide your seedlings with enough sustenance to support vegetative growth.  Apply at a rate of 1 teaspoon per gallon of water every other watering either on its own or in conjunction with Big Bloom®.

Hopefully you now have a robust crop of seedlings ready for transplant into their new homes. If you have any questions, please give us a call! Our Product Support Team can be reached at (707) 443-4369 or [email protected].  May the Fox Be With You!